How to Make a LED Face Mask Controlled by Your Phone
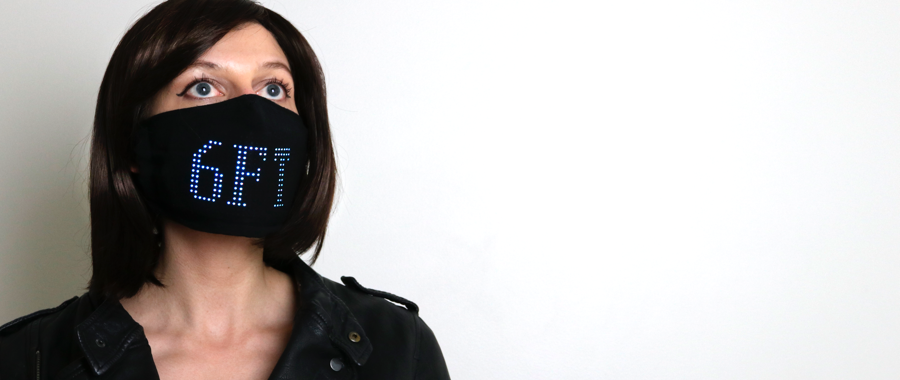
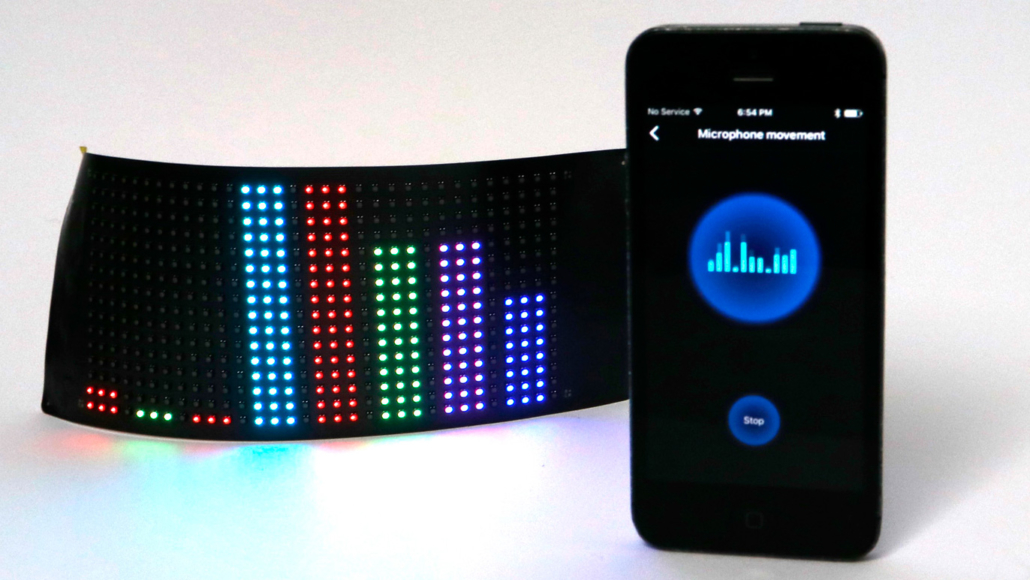
This novelty face mask allows can display text and images controlled by your phone. It can also respond to music and the sound of your voice using your phone’s microphone!
After feeling uninspired for a few weeks during these strange times of COVID-19 isolation, I was sewing some regular cotton masks for friends and family. During the process I had an idea to create this novelty LED mask.
Download the pattern here.
Learn how to operate the flex panels here.
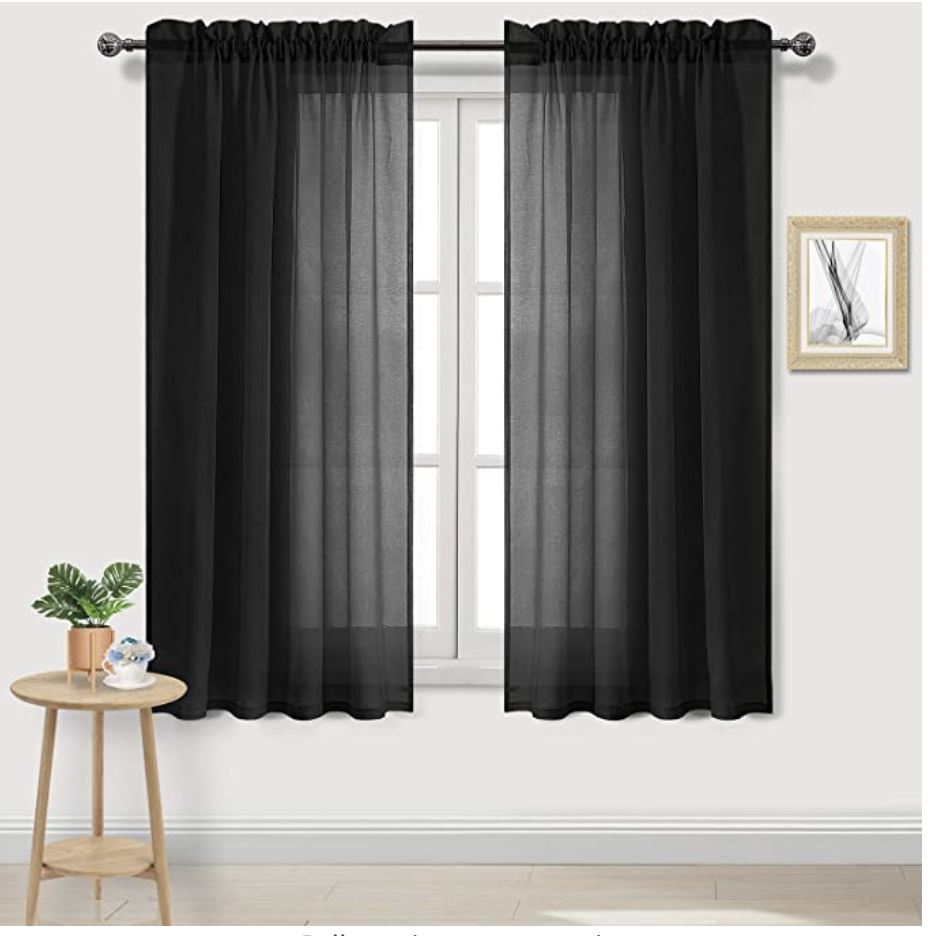
I ordered these curtains for the semi-transparent layer, and this tablecloth for the heavy layer.
Our LED flex panels are new paper-thin technology great for DIY wearable tech projects. Get yours here.
The main questions I’ve had on the mask are, first of all, how do you clean the electronics, and second of all, how do you breathe? The electronics are easily removable. You can still breathe but it isn’t ideal. The nice thing about this pattern is if you want a practical mask, you can remove the electronics at any time for a normal mask, or even add in a filter for more serious protection. But as a disclaimer, this is a fun project and no intended to be used as serious protection – there are plenty of other experts on this and this was really just a way to bring a bit of dystopian style to a tough situation.
This pattern includes a pocket for the battery. It requires two types of fabric – a heavy cotton fabric and a semi-transparent fabric, as well as some elastic. I ended up ordering bedsheets and curtains on amazon, which are linked above.
I use the large panel available on this site, but you can also make this mask with the smaller version and it works just as well with just a bit less surface area, you just may want to add in some extra stitches to hold it in position better.
You’ll want to download the pattern and cut out three pieces of fabric. One of a thick black fabric, one layer of a semi-sheet fabric, and one smaller piece of the same thick black fabric. Fold the two large pieces down the middle.
In the video I’m going to be using some different fabrics -this isn’t because I’ve lost my mind and think this looks ok, it’s because I shot this whole tutorial using black fabrics and realized since everything was black it was impossible to see what I’m doing. The tan fabric is the heavy cotton, this ugly pink is the transparent fabric, and the small black piece is also the heavy cotton fabric.
Fold the large pieces of fabric and line them up with the fold line on the pattern. You’ll also want to add that little piece where the line on the fabric is. Pin them all together and cut them out.
This pocket part is the only complicated part really. What you’re going to do now is finish the edges of the pocket, and the edge of the heavy cotton layer. If you just have a sewing machine, fold them and stitch the edges. If you have a serger, that’s even easier. You’re going to to take about half an inch off the edge of the heavy piece, so that at the end you have a little overlapping pocket that opens up on both sides, for the matrix panel and the battery.
Once you have those finished edges, carefully line everything back up so that there is an overlap in the pockets. Pin everything all together.
Stitch or serge all the way around the edges.
Once that’s done, use the pocket to flip everything around inside out. Use an iron to flatten out the mask again. Fold the mask in have with the semi-sheer layer on the inside, and the heavy layer on the outside.
Now we’re going to stitch in the darts for your nose and chin.You’ll be stitching on the heavy cotton side, so that the semi-sheer fabric is on the outside. Follow the pattern, being careful not to stitch too far down or the panel won’t fit inside.
If everything went well, you should have a mask. You’ll want to add one more stitch for the battery pocket, stitching up about 2/3rds of the way on the small pocket side to hold the battery in.
All that’s left to do is add the elastic. You can add elastic to go around each ear, or all the way around the back of your headL it’s up to you. The length of elastic will depend on how stretchy it is, I used about three inches per side for mine.
Slip in the panel, and tuck the battery into the pocket, and you’re done!
I hope this tutorial brings a bit of fun in strange and scary times. Take care of yourself and stay safe and creative.
Related Tutorials and Projects
IntroductionIntro to LED Lighting for WearablesAn overview of different types of LED lighting for wearable tech projects. |
Shop Our StoreOur DIY Wearable Tech KitFlexible LED strand with controller kit designed for your wearable tech projects. |


