Materials
For both techniques, you’ll require a small pair of needlenose pliers. You can purchase special pliers designed for electronics or jewelry, but any small set of pliers will work. The first technique requires soldering, and the second only requires pliers. We’ll start with the solder technique first. (If you’re looking for a soldering iron, this is the one I use for all my projects)
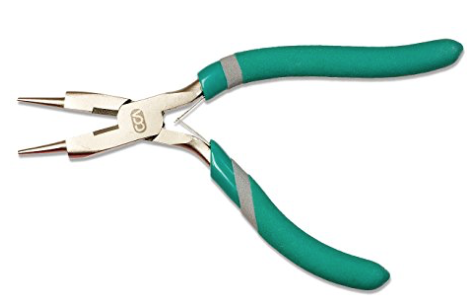
These pliers are inexpensive and include a wire cutter.
Buy them on Amazon here.
This is my favorite LED set that I use for many projects. It comes with multicolor LEDs in two sizes. The box is also nice to re-use for odds and ends.
Find it here.Solder Technique

To start, I like to mark the shorter side, or cathode, of the LED with a marker. This step is entirely optional, but it will make it easier to work with later by taking out the guesswork of how to arrange your LEDs.
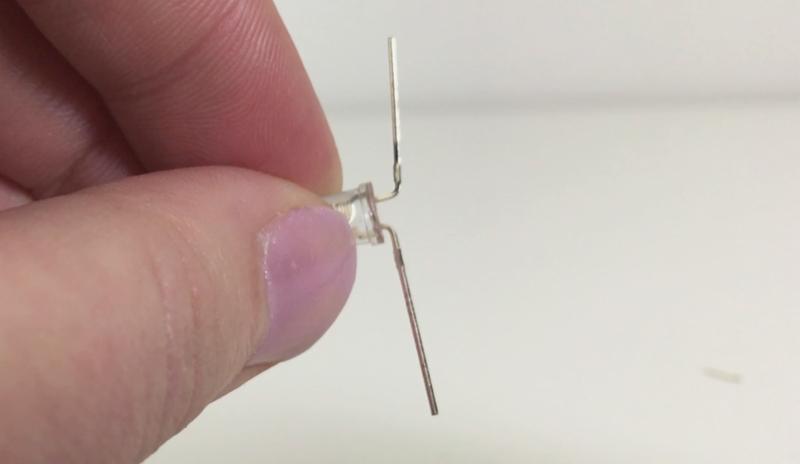
Next, use pliers to turn the posts at 90 degree angles. Be careful not to break the LED at this point, as some LEDs are weaker the anode or cathode can snap off. Trim down the posts slightly to be about a half an inch long. You can use strong scissors or your pliers to do so.

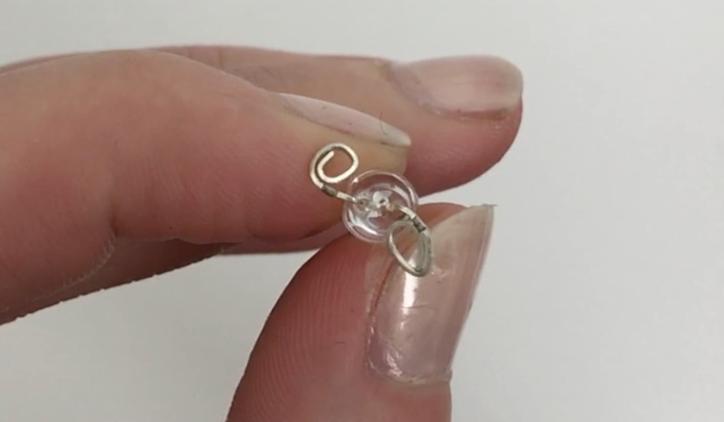
Now we’re going to use our pliers to make small loops on both sides. Curl the end of the LED into a small, tight loop. Twist the loops to be aligned with the bottom of the LED so it sits flat.
Your LED will now be the right shape, but there is a small gap that can allow your thread to slip through or become frayed. We’re going to seal that gap with a tiny amount of solder.

Carefully add a small amount of solder at the point where the loop closes. Your goal is to seal any spaces where the thread could slip through. Avoid jagged edges in your solder, as this can cause snagging and fraying. Repeat this on both sides, and you have beautiful sewable LEDs.
No-Solder Technique
If you prefer not to solder, repeat the first steps and turn the posts at 90 degree angles. This time, don’t trim the ends.
Using your pliers, create a small loop at the end. Repeat the loop again to create a spiral. This will also prevent the thread from slipping out of the loop.